





How to Install LED Ceiling Light. The aim of this tutorial is to create a bespoke ceiling light with a modern look, using mainly aluminum sections and LED strips.
Materials:
- 20mm aluminum U-shaped sections
- LED strips (a 12V strip, along with an electrical converter, for better safety),
- Fixing terminals if you choose to assemble multiple sections
- Electrical cables and cable connectors
- 3D printer
- Screwdrivers
- Saw tool
- Welder
Note:
The quantity or length of the materials will depend on your needs. The 3D printer is used to print the end caps, hanging brackets, and translucent diffuser. If you don't have one, the lids and supports can be made manually using other materials...
The choice of aluminum is to guarantee good rigidity, while keeping the weight low. It acts as a good heat sink, which helps the LED strips last longer.
LED strips can be cut into pieces, in some intended places, usually every 5-10 cm. Be sure to purchase a strip with enough cut marks for your chosen design. I recommend purchasing LED strips with one side glued on to aid assembly. Finally, it is much safer to use a 12V strip instead of a 110 or 230V one, in case a wire becomes loose inside the fixture.
Step 1: Light Design
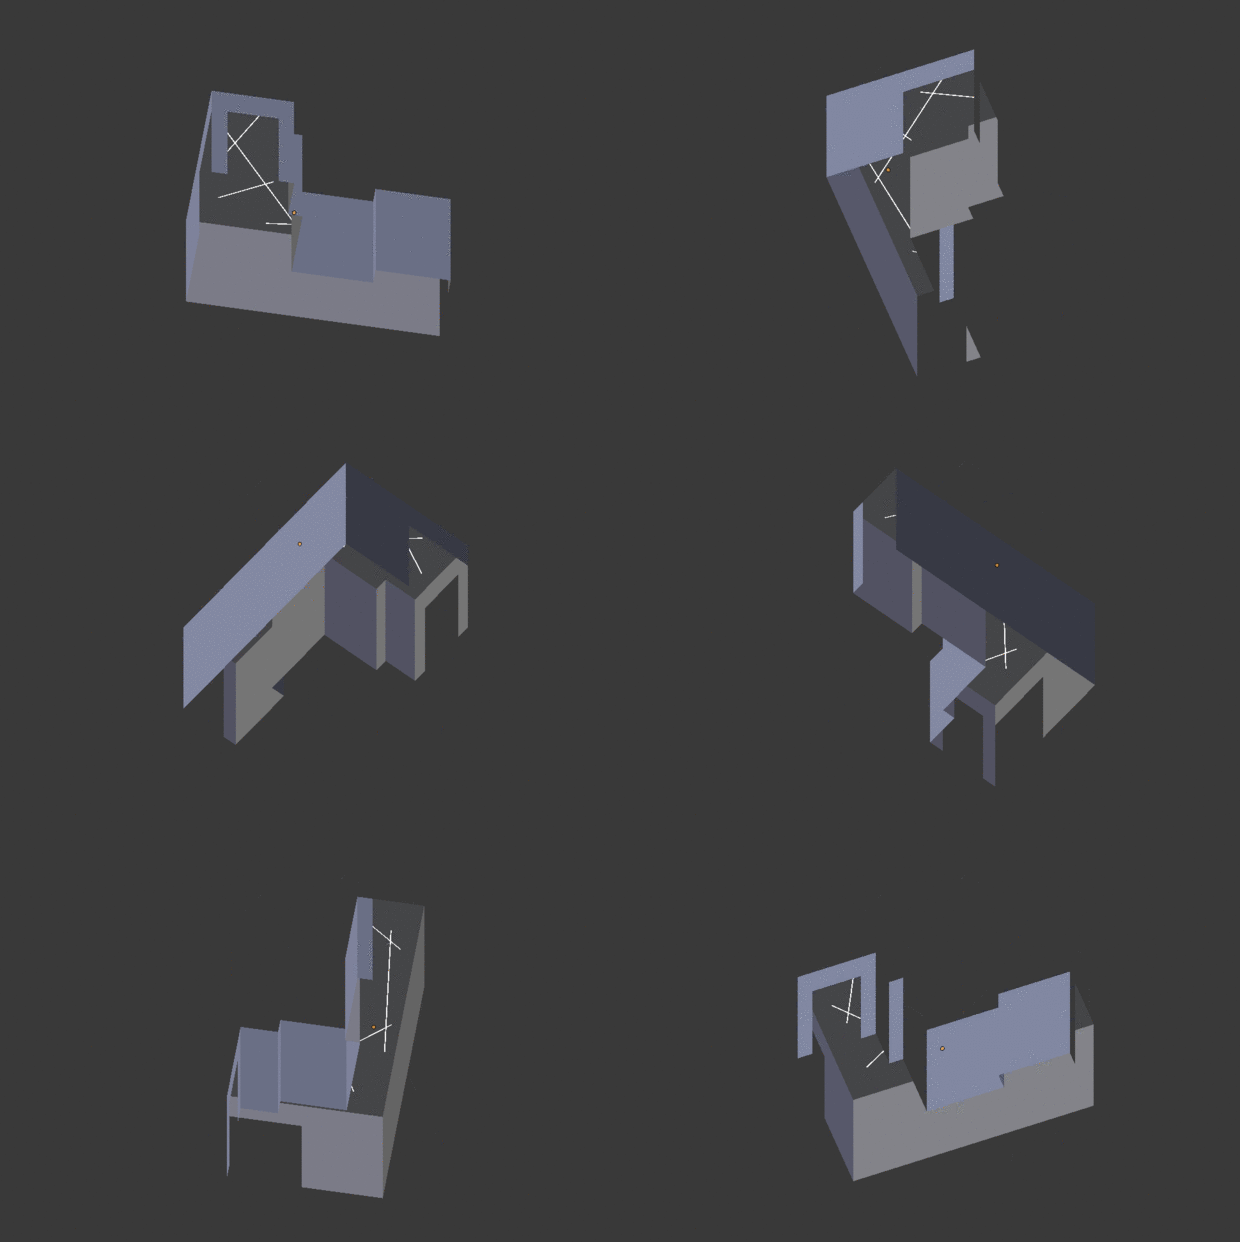
The first thing is to choose the shape of the ceiling light. You can choose a simple straight line or be more creative. Because of my L-shaped hallway, I had to assemble at least two aluminum sections; I then chose to add some additional sections through the main two to get a nicer layout.
You can make your design on paper, and create a simple view of the corridor in a 3D tool. Once the layout is known, you can measure the aluminum section and LED lengths required. In my case, I needed a section length of approximately 7 to 8 meters. To obtain a sufficient beam, you will need to know the surface to be illuminated and the use of the room, as the light intensity required will vary.
The corridor was approximately 7.5m2 wide, this means it had to ensure at least 100*7.5 = 750 lumens. Having 750 lumens on an 8 meter LED strip is easy to achieve.
One important thing about 12V LEDs: check the power they require and make sure the converter can power them. As an example, the band power is 24W and it runs on 12V, so you need 24W/12V = 2A.
Step 2: Cut and Assemble Sections
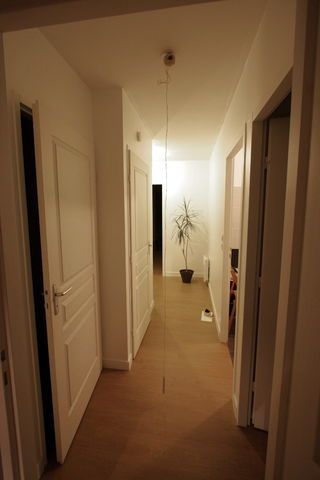
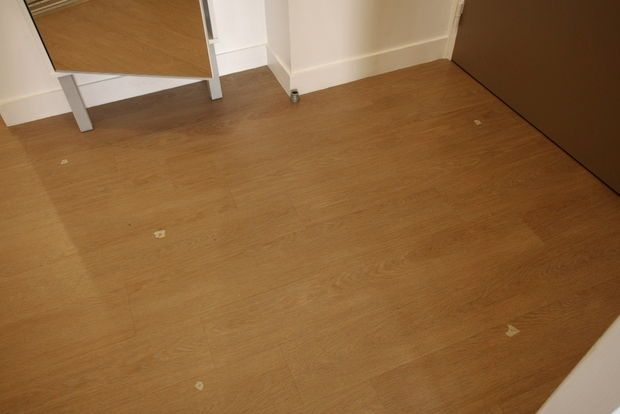
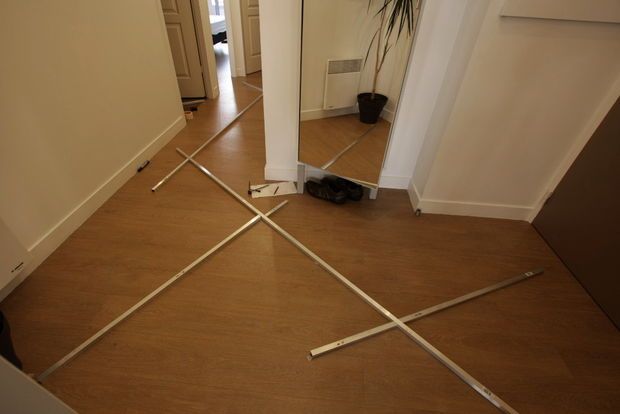
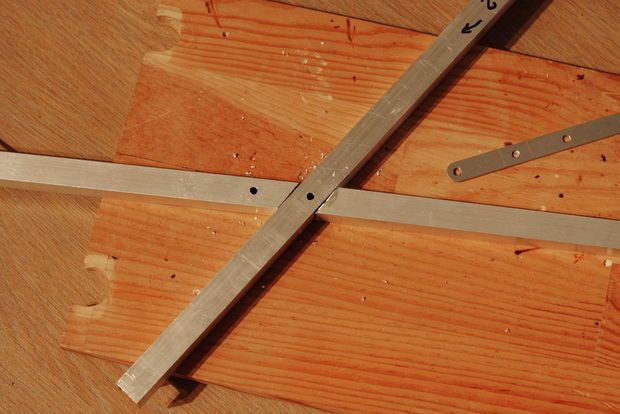
The first thing is to place the sections on the ground, according to your design. This will allow you to better visualize the final result and adjust the design. Place some tape marks on the floor to help you maintain the position of the aluminum sections during your work. Use a plumb line to find out where the suspension points are. Then place the sections, modify their design and cut them. It is best to cut the longest sections first, as a slight error in the cutting angle will result in a large displacement of the limbs. If so, you can (try to) correct the angles of the other sections.
If your design requires multiple sections joined together, use a locking lug. Locate and drill two holes, assemble the parts, and then drill the other holes using the lug as a guide. This way you will minimize the risk of gap error.
Drill holes for each of the suspension points, one more side by side to run the power supply cables. Once this is done, take the sections at the suspension points and check the balance of the assembly. It is likely that you are going to tip; That means that you will have to put "crutches" on the opposite side to maintain the horizontality of the whole.
Step 3: Power Supply
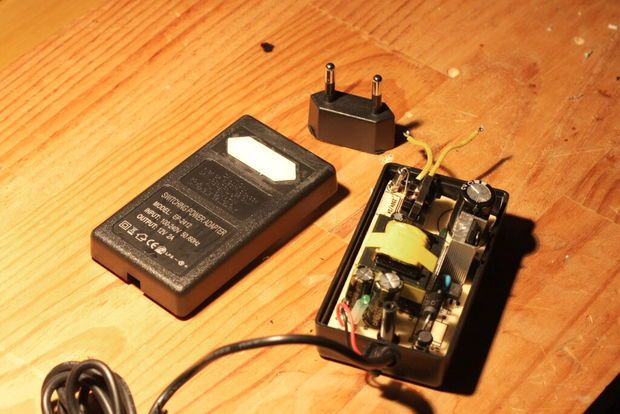
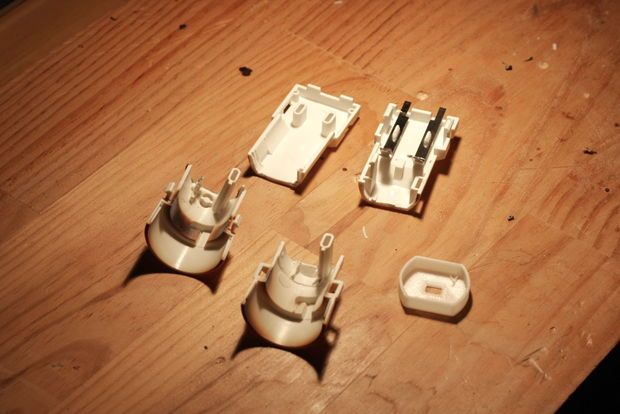
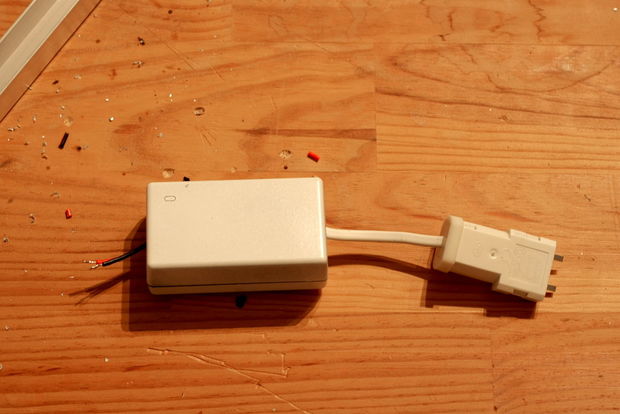
This part may be useless for those who don't have the same outlet as me. An IEC 61995-1:2005 standard is used here. Open the power supply to replace the main socket pins with a white wire. Also replace the output cable with a shorter one, and paint the box white, so it always matches the ceiling.
Shorten the IEC connector and solder the white wires from the source. The result is a good power supply with an IEC connector on one side and an output cable on the other side.
Step 4: LED Strip Settings
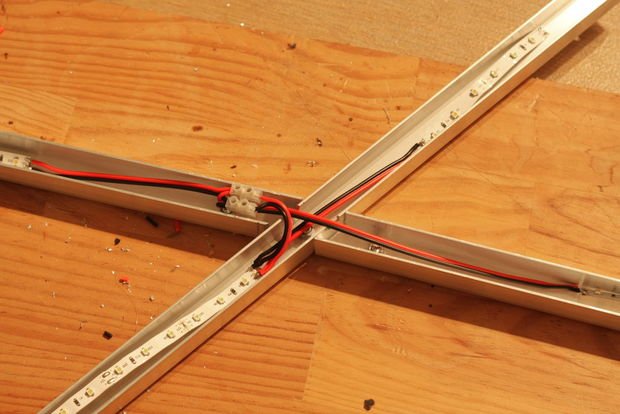
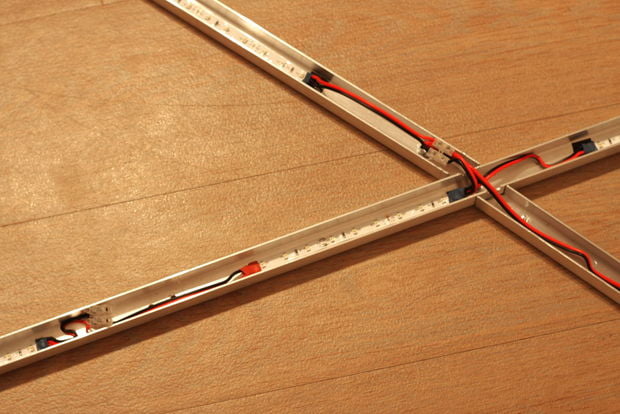
If using a 12V LED strip, connect the two wires from the strip to the power supply wires, using a connection terminal (similar to Wago). If using a 110-230V LED strip, connect the two wires to the main outlet and, extremely important, screw the ground wire (yellow-green wire) to the aluminum section. If the ground wire is not connected, you could be electrocuted if a wire comes loose.
If necessary, cut the strip into pieces spread across the sections, then solder wires to connect each piece. Take care of the polarity, as the LED will not work if a connection is reversed. Don't forget to use a heat shrink sleeve to protect the solders and prevent short circuits!
Once the design is done, glue the LED strip inside the aluminum sections. You can polish the aluminum sections with a cloth and some cream to improve the appearance.
Step 5: Hanging the Light on the Ceiling
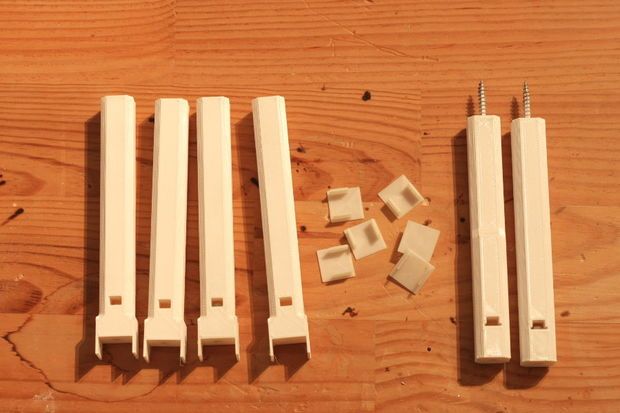
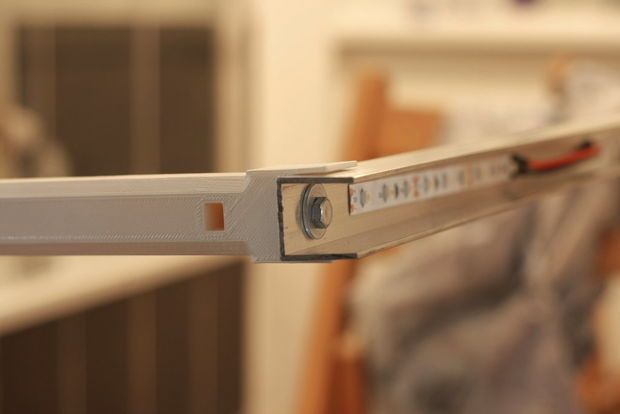
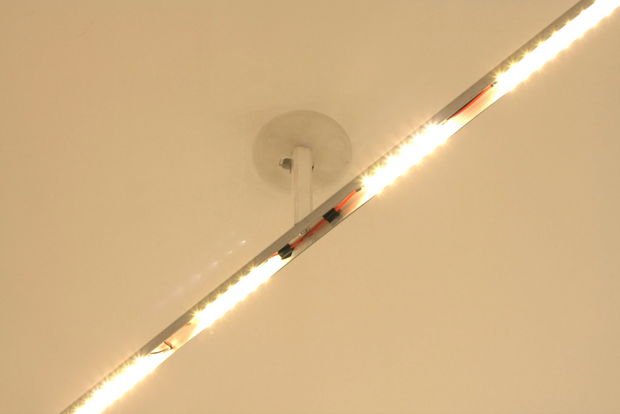
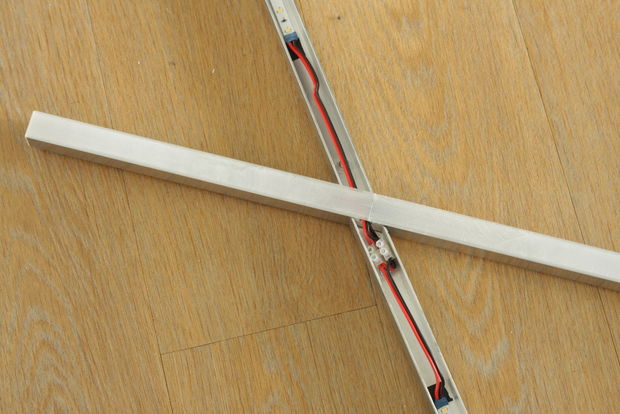
Take the sections at the suspension points and check the balance of the assembly. It is likely that you are going to tip; That means that you will have to put "crutches" on the opposite side to maintain the horizontality of the whole.
He printed the hanging parts and crutches using ABS, and inserted nuts into them so he could screw them to the aluminum sections. I think these parts could be made of painted wood (20x20x150mm).
Screw the crutches to the aluminum sections, then screw the hanging pieces to the ceiling, then screw the sections to the hanging pieces. Connect the power supply and check that all LEDs are working.
The light diffuser being used are 3D printed parts, made of transparent PETG. I hope this instruction is clear and useful; Feel free to leave a comment if you have a question…
Get more information at perfectaidea.com and in our Facebook for more How to Install LED Ceiling Light.