





Whether you need to keep drinks cold without electricity, prepare a school project, or create a cooler for camping, this guide will teach you how to make a cooler from insulating material in a simple, economical, and effective way.
You don't need professional tools.
Just understand the basic principle: block the heat.
What is an insulated refrigerator?
Es una caja térmica casera diseñada para reducir la transferencia de calor y conservar el frío durante varias horas.
It works just like a commercial portable refrigerator, but using:
- Cardboard or plastic
- Aluminum foil
- Polystyrene foam
- Recycled materials

Part 1: Understanding how thermal insulation works
Before building it, it is important to understand the principle:
Heat is transmitted by:
- Driving (direct contact)
- Convection (air movement)
- Radiation (thermal energy)
Insulating materials such as polystyrene or aluminum foil reduce that transfer.
- Polystyrene contains trapped air → low conductivity.
- Aluminum reflects thermal radiation.
The thicker the insulating barrier, the longer the cold lasts.
Part 2: Basic Method (Simple refrigerator with recycled materials)
This method is ideal if you are looking for speed and low cost.
You can make a simple cooler using a box with a lid, aluminum foil, and recycled packing materials.
Materials needed
- Box with lid (cardboard or plastic)
- Aluminum foil
- Newspaper, foam or bubble wrap
- Scotch tape
- Ice or cold accumulators
Step by step
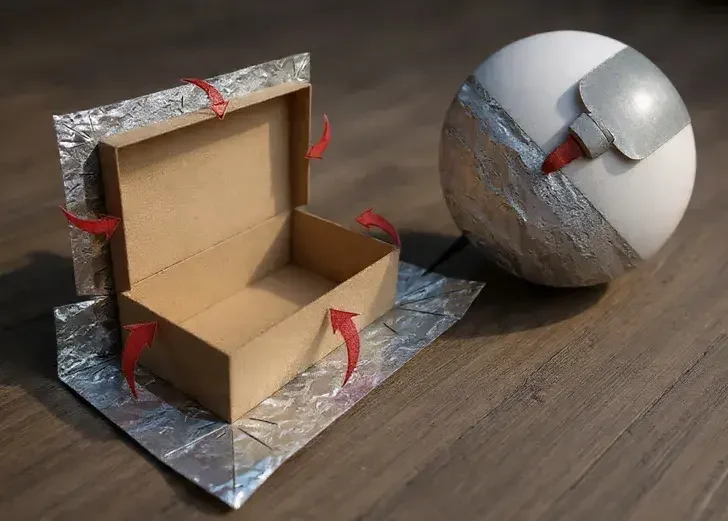
1️⃣ Line the interior
Cover all the interior walls with aluminum foil.
This will help reflect the heat.
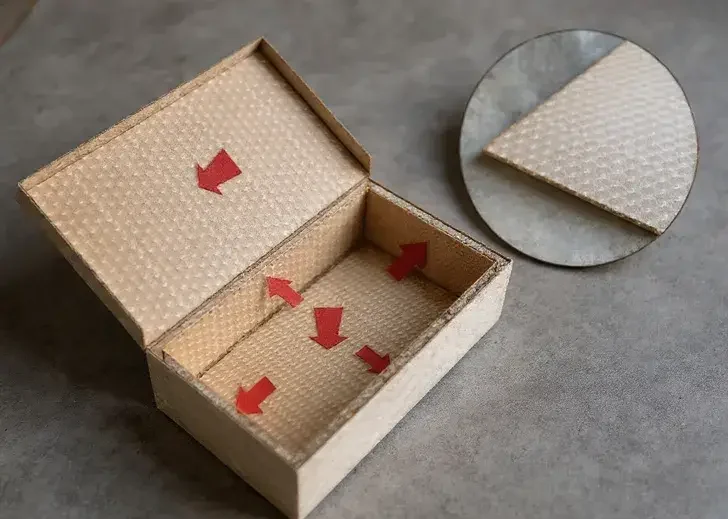


2️⃣ Add insulation
Place a thick layer of packing material on the base and sides.


3️⃣ Seal well
Make sure there are no open spaces.

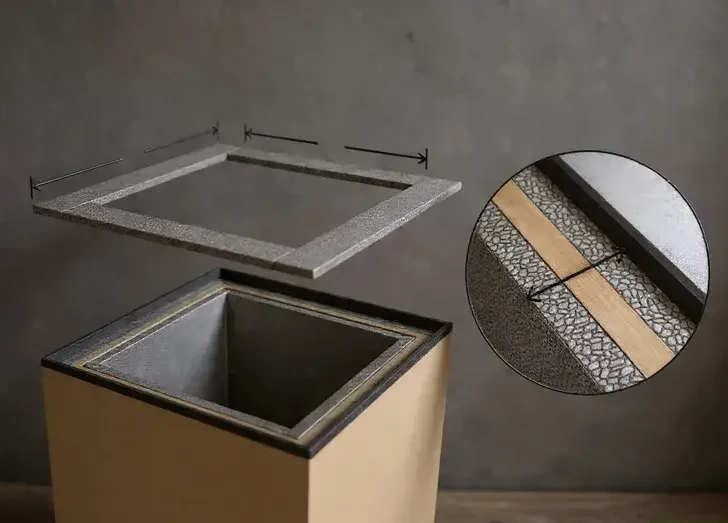
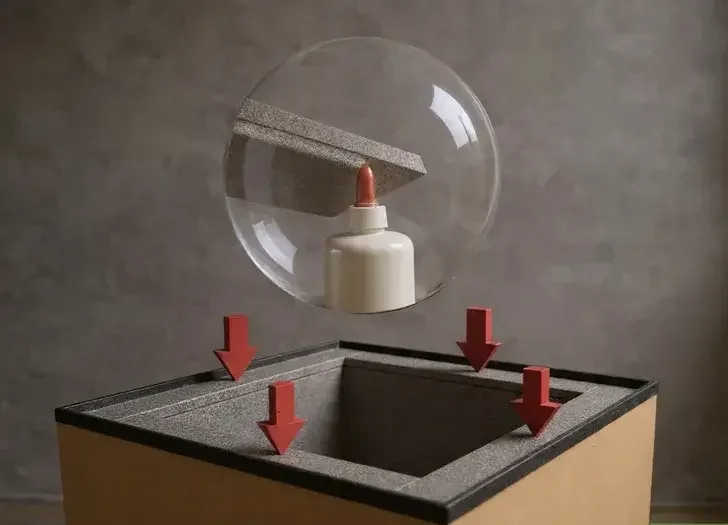
4️⃣ Place the cold
Put the ice on top (cold air sinks).
5️⃣ Seal
The less air that circulates, the better it will retain the temperature.
Part 3: Advanced Method (Larger and more efficient refrigerator)
If you're looking for longer life and better thermal performance, upgrade the structure.
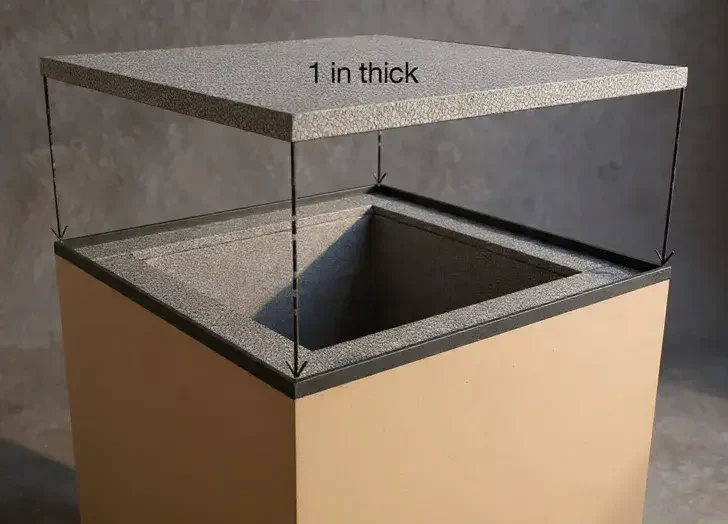
If you want a larger and more effective design, line a cardboard box with a polystyrene foam board.
This material is one of the best homemade insulators available.
Materials needed
- Sturdy cardboard box
- Polystyrene foam sheets
- Cutter
- Heavy-duty tape or silicone
- Aluminum foil (optional)
Detailed step-by-step instructions
1️⃣ Measure the box
Take accurate internal measurements.
2️⃣ Cut the foam
Cut out pieces for the base, sides, and lid.
3️⃣ Install insulation
Place the plates securely.
4️⃣ Seal joints
Use tape or silicone to prevent air leaks.
5️⃣ Optional reinforcement
It adds a layer of aluminum for greater thermal efficiency.
Result: a highly efficient homemade preservative.
Part 4: How to improve the duration of the cold
Para maximizar el rendimiento:
✔ Use frozen ice packs instead of loose ice
✔ Pre-chill drinks before storing them
✔ Adds a double layer of insulation
✔ Do not open the lid constantly
✔ Fill empty spaces with insulating material
With good construction, it can keep things cold for between 4 and 8 hours.
Part 5: Practical Uses
A cooler made of insulated material is perfect for:
- Camping
- Beach
- Picnics
- School events
- Power outages
- Physics projects
- Emergencies
It is economical, reusable and sustainable.
Part 6: Common Mistakes You Should Avoid
❌ Do not isolate the base
❌ Leaving gaps unsealed
❌ Use foam with a thin layer of material
❌ Open constantly
❌ Place ice at the base instead of on top
Small details determine effectiveness.
Part 7: How long does the cold really last?
It depends on:
- Outside temperature
- Insulation quality
- Amount of ice
- Container size
With good polystyrene foam, the performance can be surprising.
Conclusion
Now you know exactly how to make a refrigerator from insulating material, either with recycled materials or with polystyrene foam for greater efficiency.
It's a project:
- Economic
- Practical
- Educational
- Functional
- Perfect for outdoor use
The important thing is not just to build it, but to understand how thermal insulation works in your favor.