






Bathroom and kitchen grout lines are one of those details we hardly notice… until they start to look black, cracked, or moldy. Then the whole space looks older, less hygienic, and neglected.
I've been through it myself. And that's why today I want to show you, with complete clarity, how to properly repair worn joints with filler, without complications and with professional results.
Because when you do it right, you not only improve the aesthetics: you also protect the area against moisture, fungi and mold, which is really the underlying problem.
Why do tile grout lines wear out in bathrooms and kitchens?
Before going into the step-by-step process, it's important to understand what's happening.
Joints (also called grout or sealant) perform three key functions:
- Seal the space between tiles
- Prevent water leaks
- Prevent the appearance of mold and bacteria
In areas like showers, sinks, or washbasins, constant exposure to moisture eventually weakens the material. Over time, the following appear:
- Cracks
- Bleaching
- Landslides
- Encrusted mold
And that's when many people think they need to change the tiles... when in reality they only need to replace the worn grout with sealant.
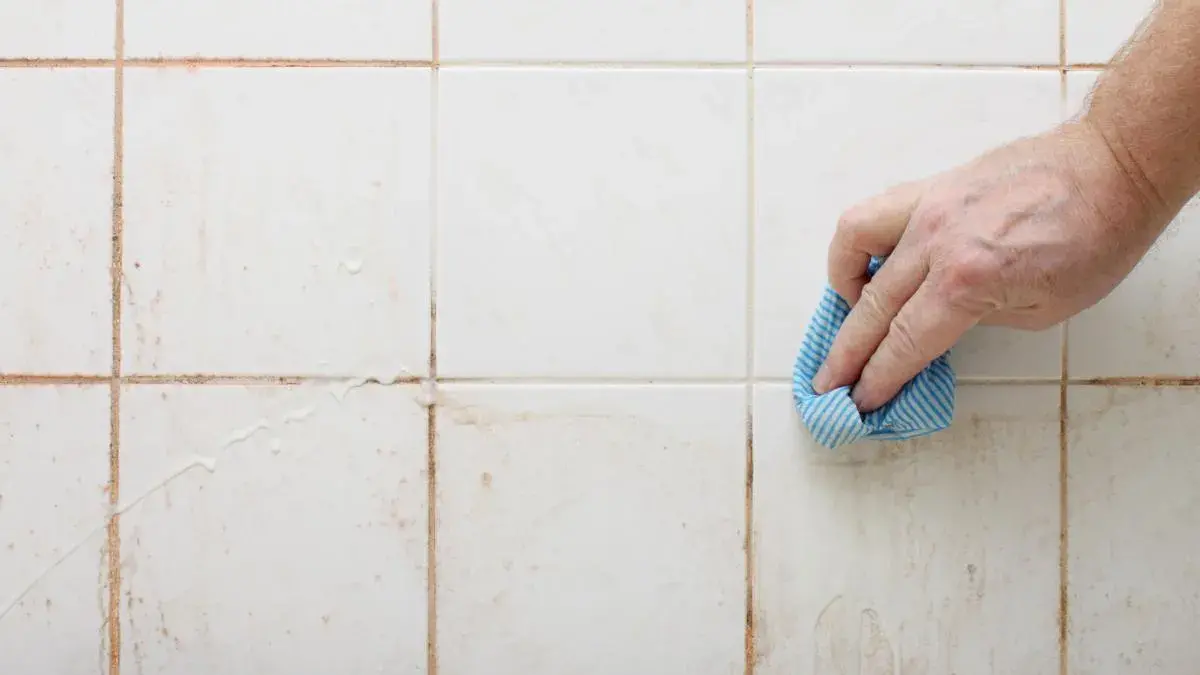
When is it time to repair the joints
It's not always necessary to remove all the cladding. If you notice:
- Blackened grout lines that won't clean
- Small cracks
- Areas where the grout has come loose
- Persistent humidity in certain areas
It's time to act.
In this guide, you'll see step-by-step how to replace worn joints with sealant, protecting the area against moisture, fungi, and mold. That's the real reason for doing it: structural prevention, not just aesthetics.
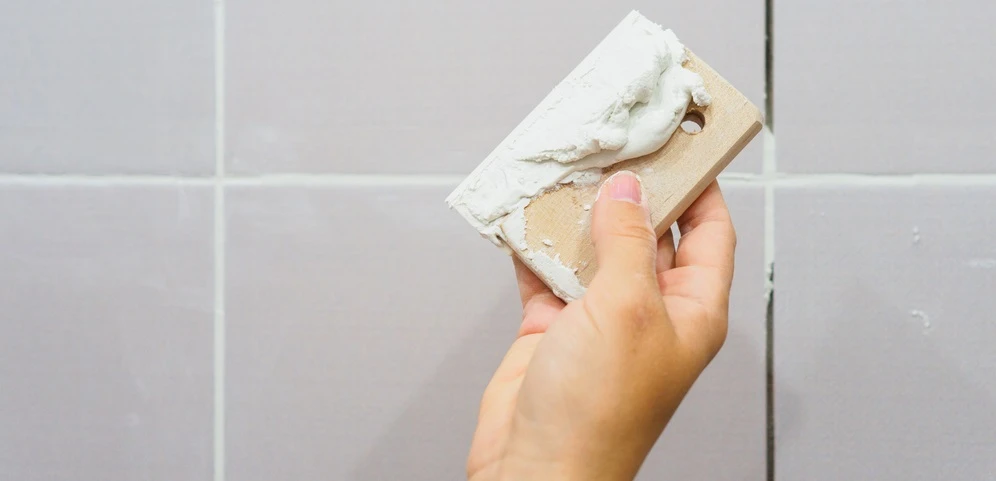
What type of grout to use for tile joints
This is where many people fail.
Not just any product will do. To repair worn grout lines in a bathroom or kitchen, you need:
- Specific filler for tile joints
- Preferably antifungal
- Water resistant
- Flexible
In shower areas, I always recommend sealants with anti-mold treatment. Don't skimp here: it's what will make the difference between a temporary repair and a lasting solution.

Tools needed for the job
To do it correctly you will need:
- Scraper or gasket removal tool
- Rubber spatula
- Joint filler
- Damp sponge
- Clean cloth
- Gloves
The key is in the preparation. If the surface isn't clean and dry, the new putty won't adhere properly.
How to repair worn joints with putty step by step
Here's the important part.
In this project you will see step by step how to replace worn joints with sealant… and although it sounds simple, there are details that make all the difference.
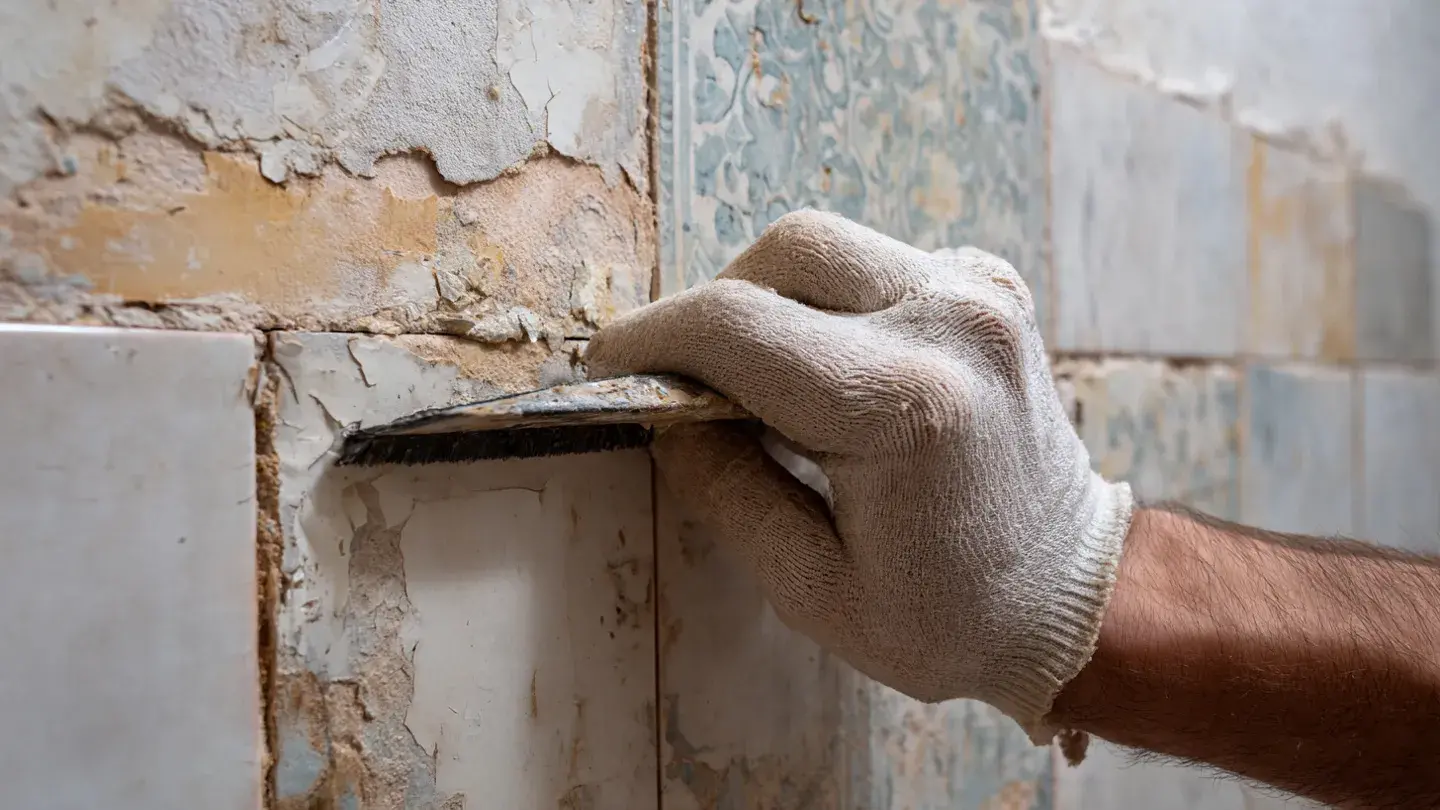
1️⃣ Remove the deteriorated gasket
Use a scraper to remove the damaged part. You don't need to go too deep, but do remove anything loose or contaminated with mold.
This step defines the final result.
2️⃣ Deep cleaning
Vacuum up the dust and wipe with a slightly damp cloth.
The area must be completely dry before applying the new filler. This prevents moisture from becoming trapped and the problem from recurring.
Remember that the goal is to protect the area against moisture, fungi and mold, not just cover them.
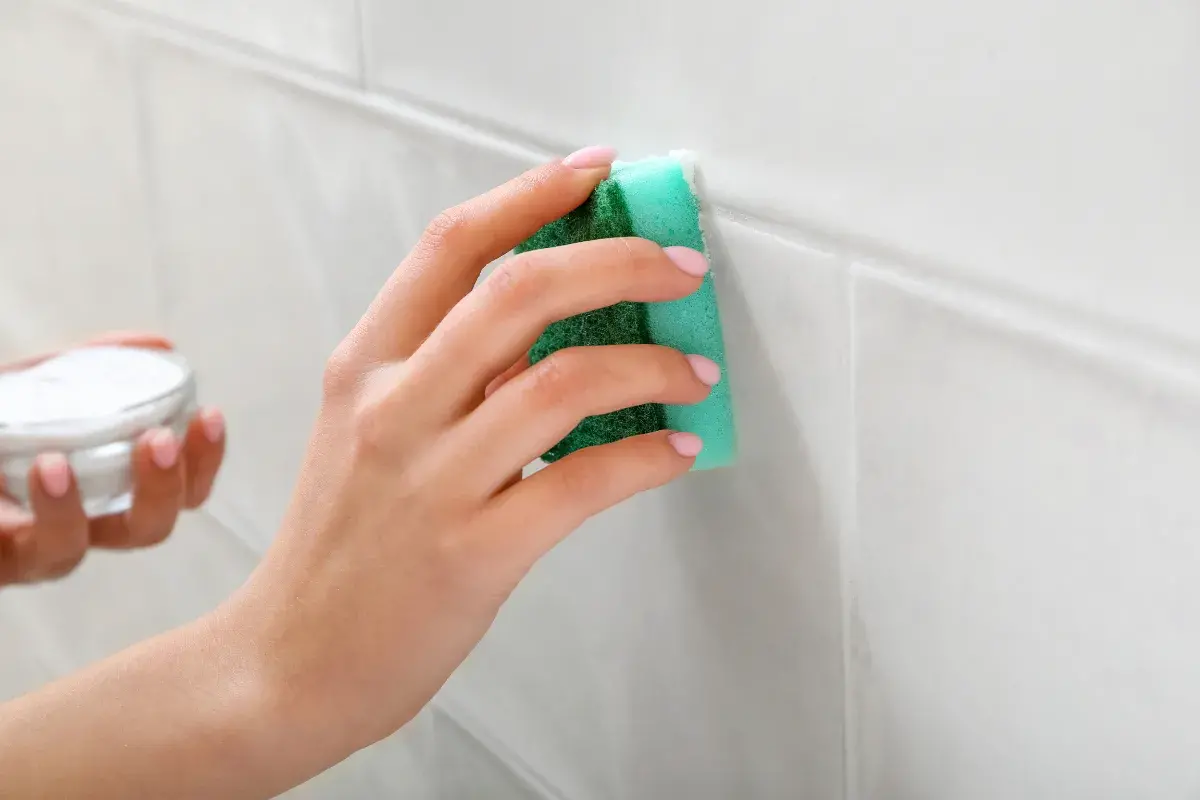
3️⃣ Applying the putty
Using the rubber spatula, apply the putty, pressing diagonally to ensure it penetrates the joints well.
Don't be afraid to apply enough product. We'll remove the excess later.
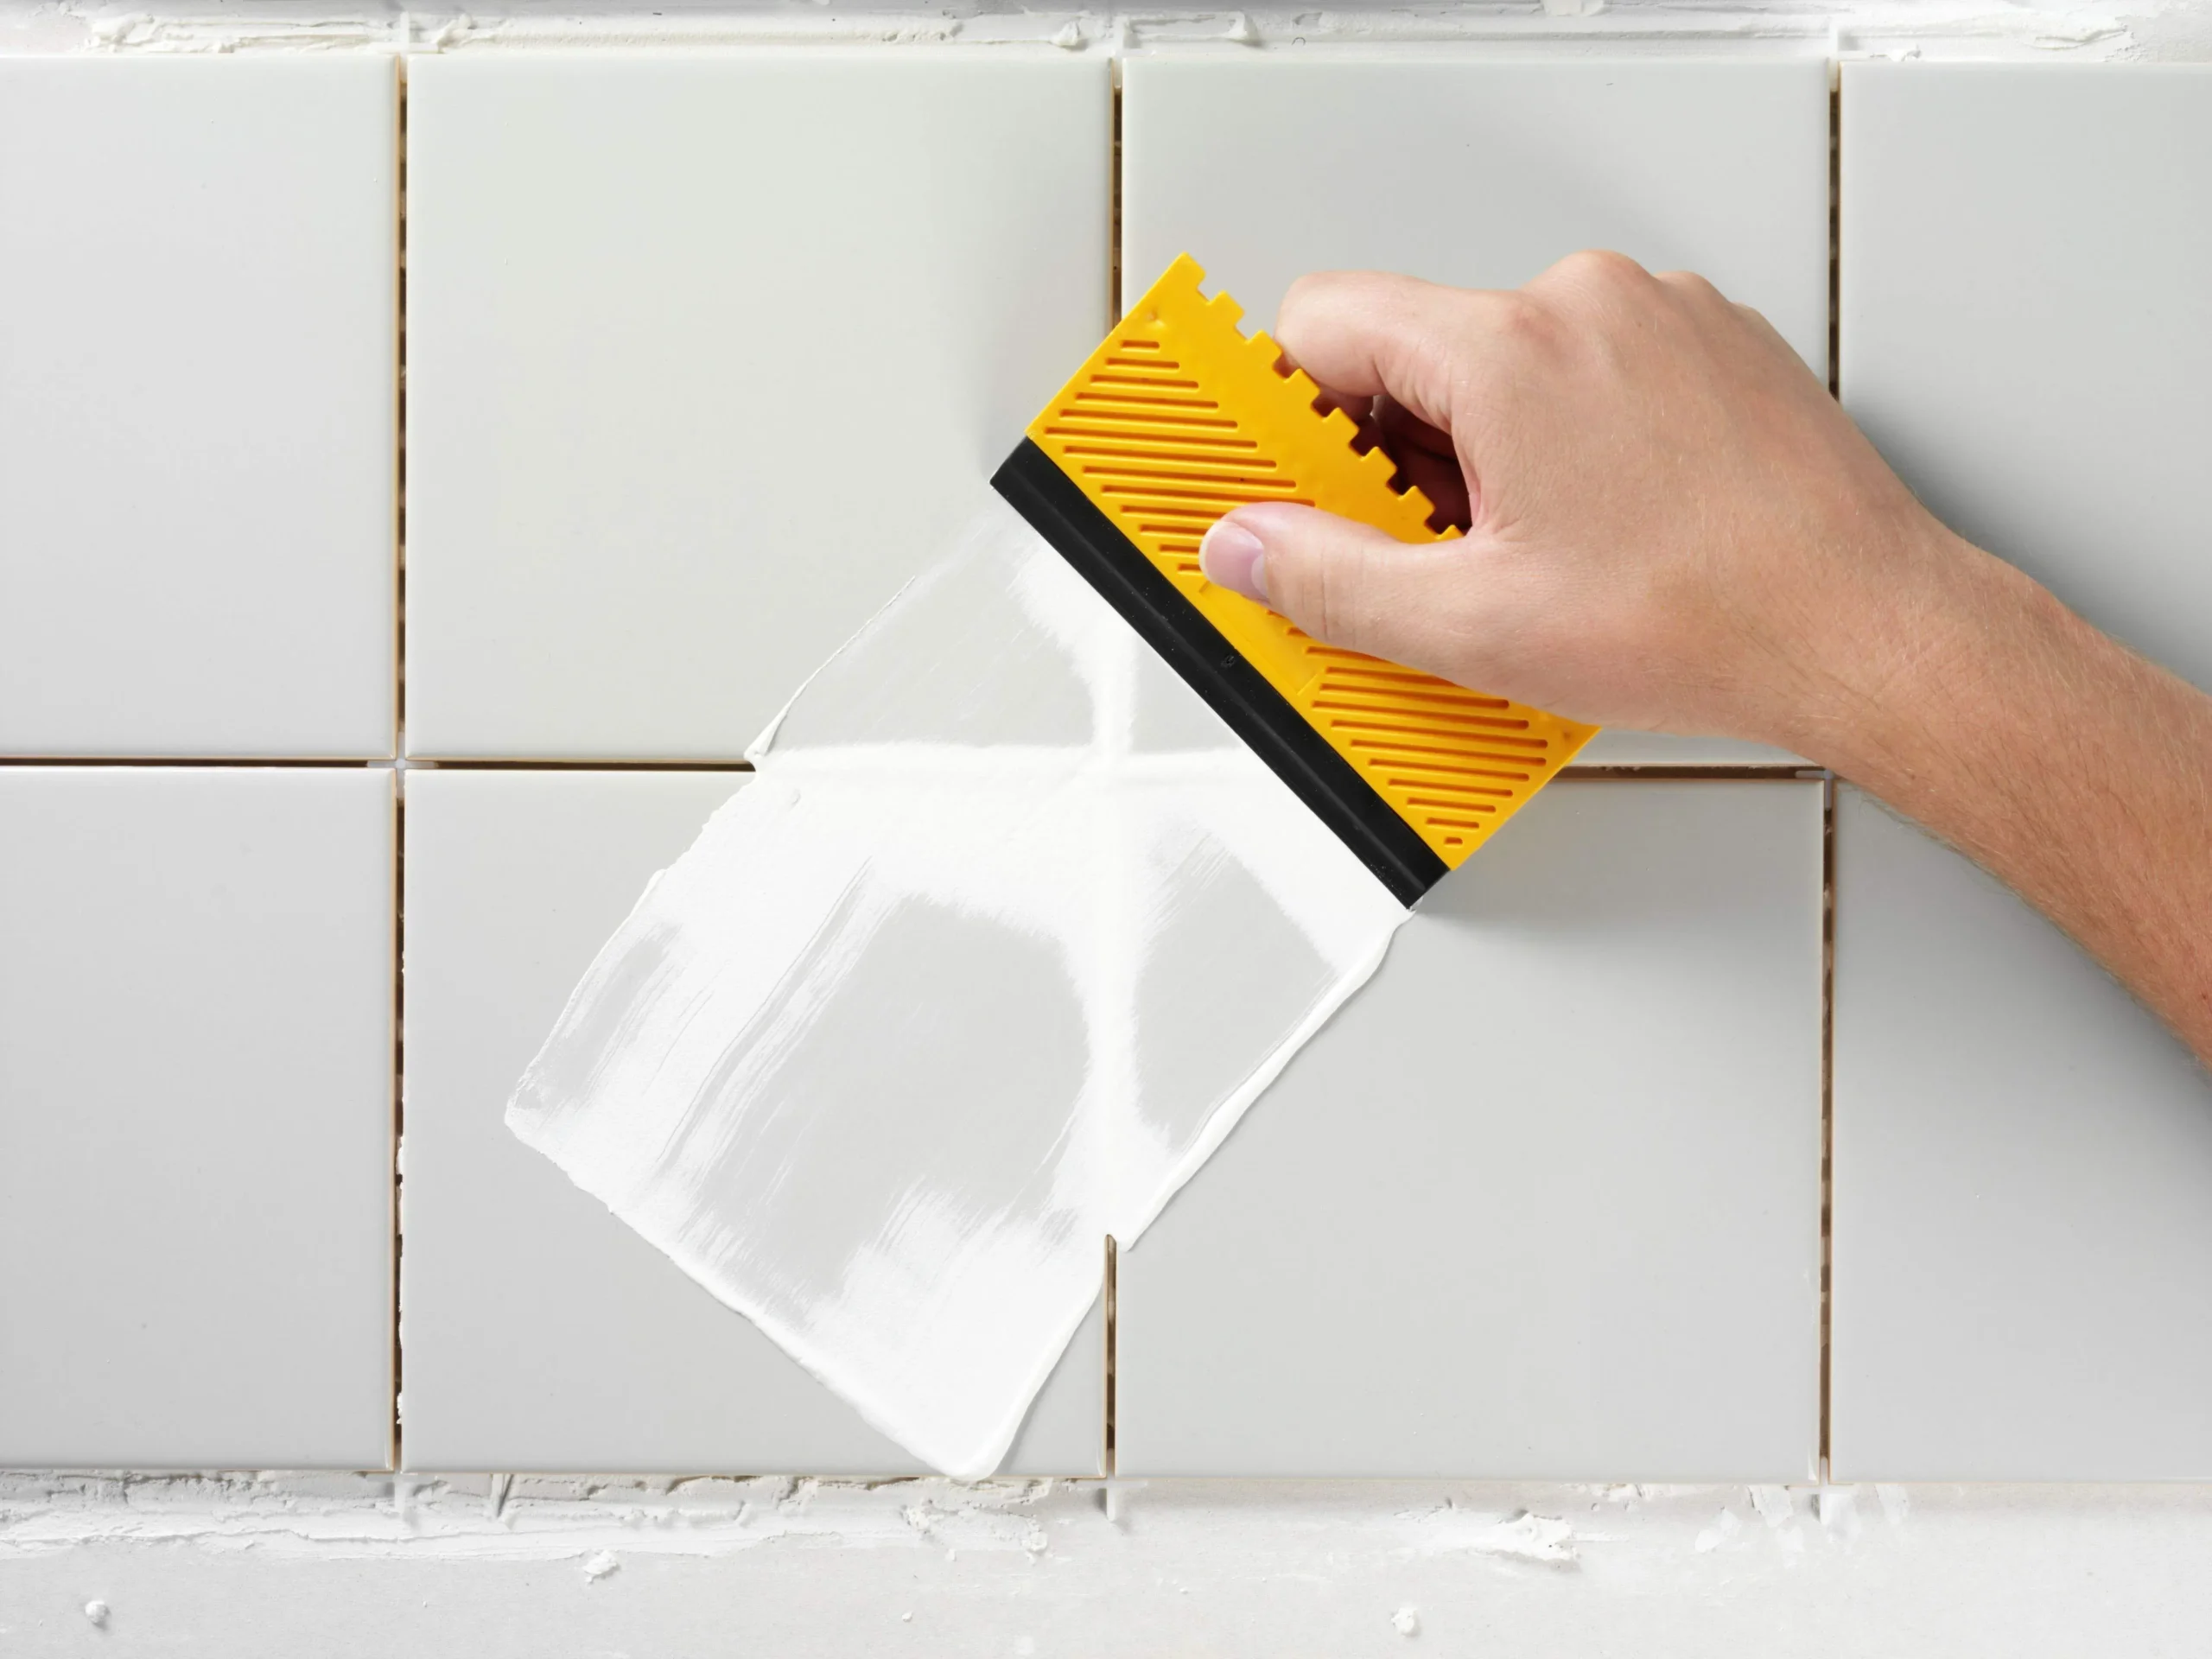
4️⃣ Remove excess and smooth
Run the clean spatula diagonally across the surface. Then use a damp (well wrung out) sponge to smooth it.
This moment is key to achieving a professional finish.
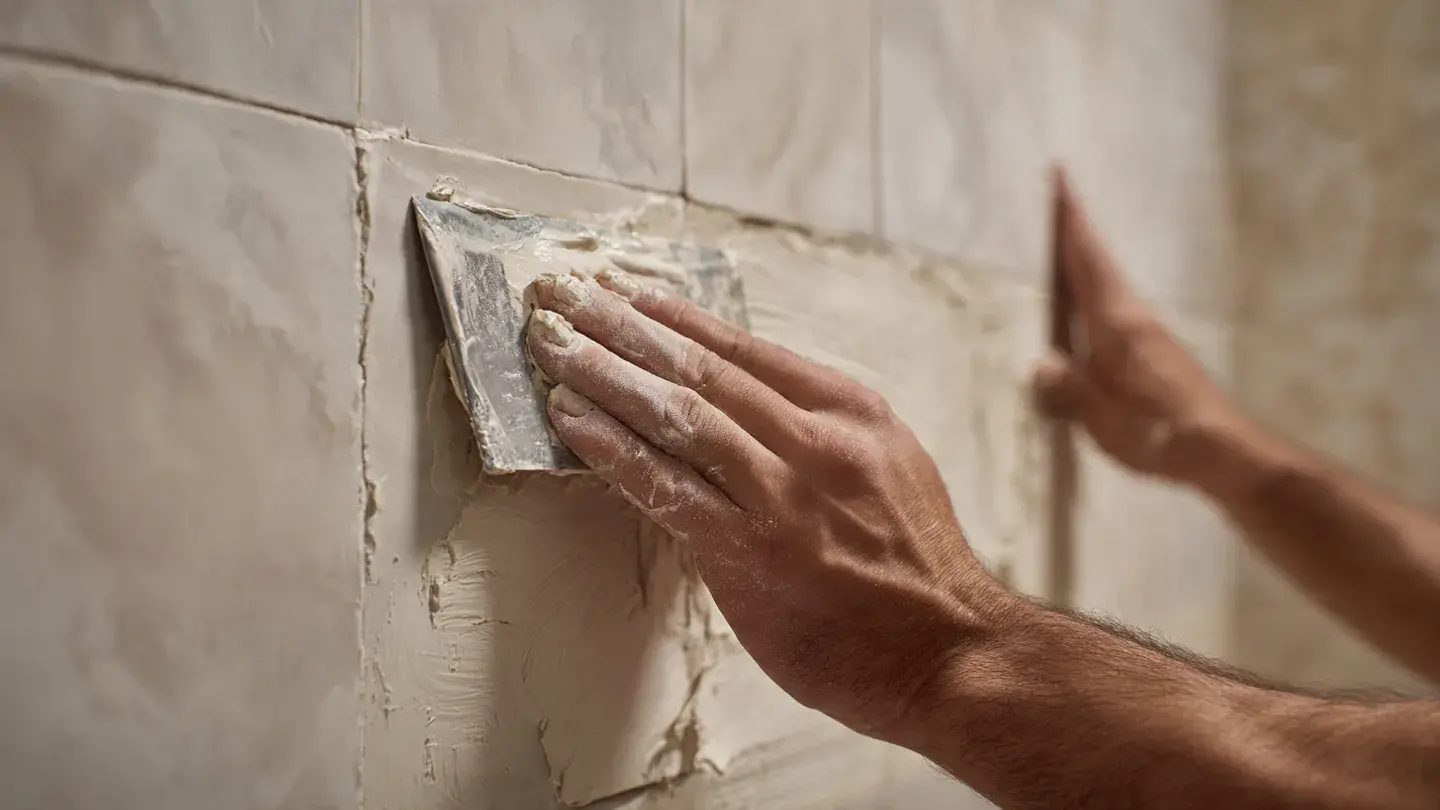
5️⃣ Drying and curing
Respect the time indicated by the manufacturer.
Avoid getting the area wet for at least 24 hours.
If you follow this process correctly, you will be effectively replacing worn joints with sealant and extending the lifespan of your bathroom or kitchen.
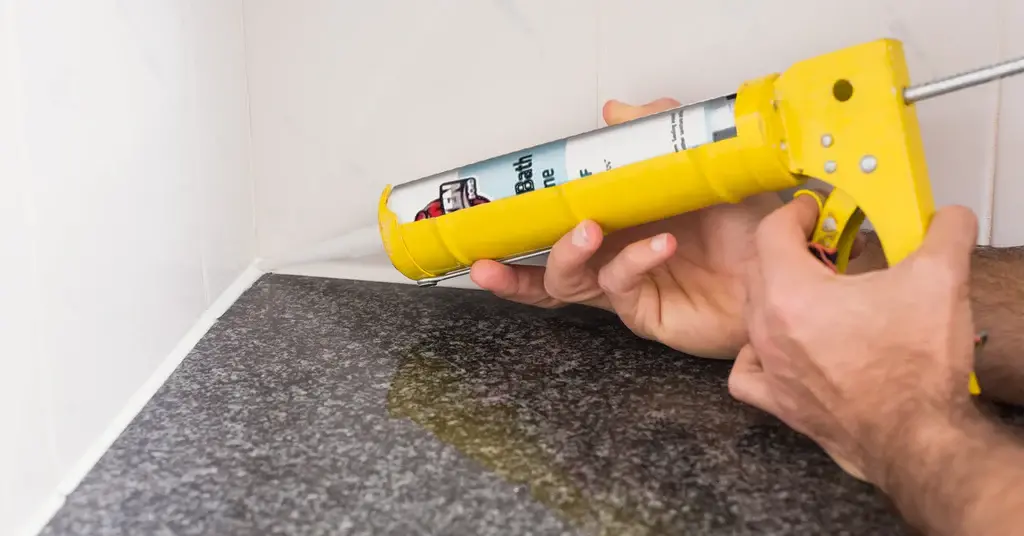
Common mistakes when repairing gaskets
Many tutorials oversimplify the process. These are common mistakes:
- Apply putty to damp areas.
- Do not completely remove the damaged material.
- Use generic products without antifungal properties
- Not respecting the drying time
When that happens, the mold returns within a few weeks.
And the idea is not to repeat the work every month, but to do it right from the start.
Real benefits of renewing gaskets
Beyond aesthetics, repairing worn joints with filler offers:
✔ Immediate visual improvement
✔ Leak prevention
✔ Improved hygiene
✔ Structural protection
✔ Feeling of total renewal
I have verified that, after performing this procedure correctly, the space looks newly renovated without having changed a single tile.
Follow-up maintenance to make them last longer
Once the gaskets have been replaced:
- Ventilate the bathroom after showering
- Cleanse regularly with mild products.
- Avoid accumulating stagnant water
- Check for small cracks in time.
Maintenance is what keeps the work intact for years.
Is it better to use filler or completely redo the grout?
In most cases, repairing joints with putty is sufficient.
You should only consider redoing all the grout if:
- The damage is widespread
- There are structural leaks
- The joints are completely pulverized
Under normal domestic bathroom or kitchen conditions, the localized repair works perfectly.
Conclusion
Repairing worn joints with putty is one of the most cost-effective improvements you can make to your bathroom or kitchen.
It doesn't require large investments or complex tools. Just method, patience, and the right product.
In this work you have been able to see step by step how to replace worn joints with putty and thus protect the area against moisture, fungi and mold.
And believe me: when you finish and see the clean, uniform and renewed result, you understand that a renovation wasn't necessary... just smart maintenance.