





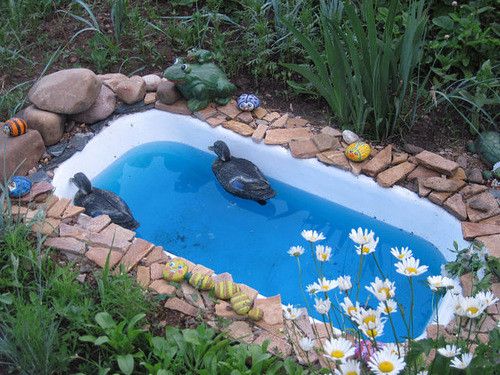
Would you like to give your old bathtub a new purpose? Learning how to build a mini pond step by step is a creative and economical way to reuse it. It will not only beautify your garden, but also provide a habitat for plants and aquatic life.
Necessary materials
- Old bathtub
- Pegs and string for marking
- Shovel
- Sand
- Paving tiles
- Construction bricks and glue
- Pool film
- Stones or pebbles
Steps to Build the Mini Pond
1. Planning and Marking
- Decide the size and shape of your pond.
- Mark the dimensions on the ground with pegs and string.

2. Excavation
- Dig the hole to the desired depth.

3. Soil Preparation
- Delimit the area around the hole to a depth of 10 cm.
- Pour sand on the bottom and place the paving tiles.

4. Edge Lifting
- Raise the sides of the hole with 1-2 bricks glued together with construction glue.

5. Film Placement
- Place a special pool film on the bottom of the hole.

6. Decoration and Filling
- Fill the pond with water.
- Place stones or pebbles on the bottom to stabilize the film and decorate the pond.
Benefits of Having a Mini Pond
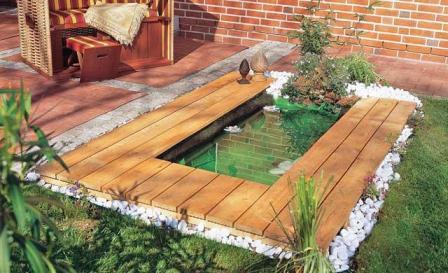
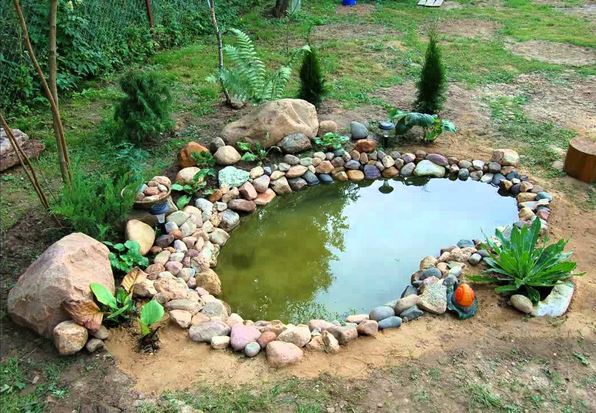
A mini pond not only adds an aesthetic element to your garden, but it can also serve as a small ecosystem for aquatic plants and small animals. It is a great way to reuse old materials and contribute to a more sustainable environment.

Conclusion
Building a mini pond is a simple and rewarding task that will transform your garden into a space of relaxation and natural beauty. With these simple steps, you can create your own aquatic oasis.
Get more information on our page perfectaidea.com and on our facebook for more ideas.